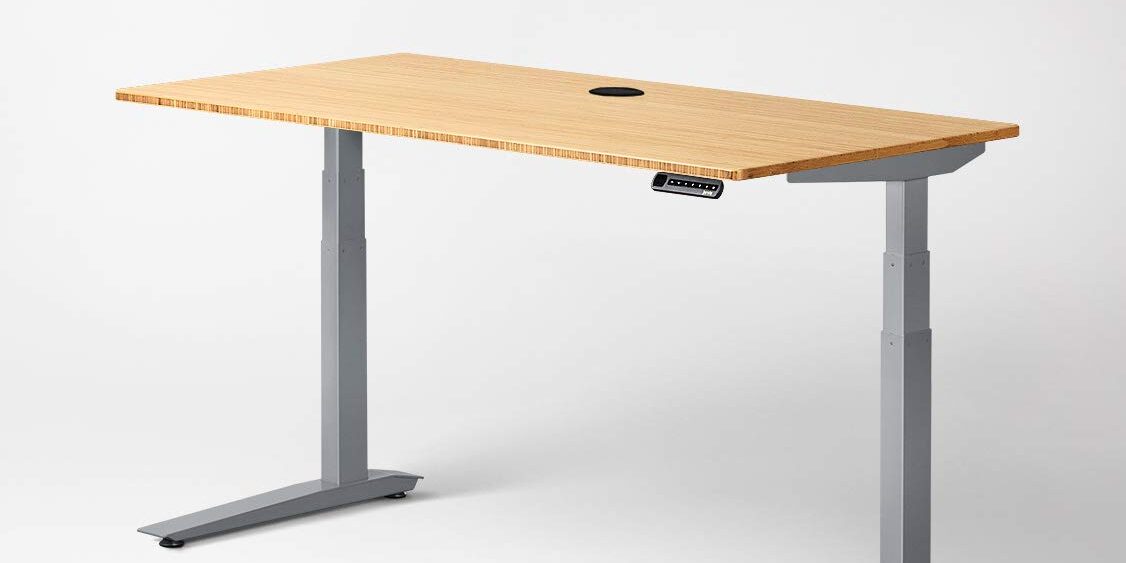
Here is a break down of step by step instructions for how to assemble a Jarvis standing desk to help answer this common question. I find that a lot of people are looking for Fully Jarvis Standing Desk assembly instructions or are trying to get an idea of how difficult their new Jarvis desk is to assemble. The photos below linked to detail instructions will make assembling your Jarvis Desk that much easier.
I’ve also added an excellent video below to help you assemble your desk. Enjoy!
Jarvis Desk Assembly Instructions
Preparation
Fully’s Jarvis Desk comes in three to five separate boxes depending on the specific model and any add ons you decide to order (standing mat, storage trays, monitor arms etc).
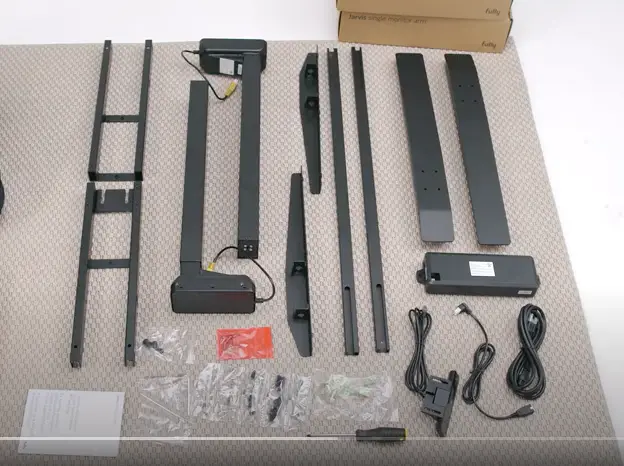
Lay out all items so they are easy to identify and verify your inventory with the provided instructions so you know all parts are present. Fully will also provide the required tools in your packaging. If not, you will need a Phillips head screwdriver and an Allen wrench.
Assembly Instructions
1. Arrange all pieces and parts of your Jarvis Standing Desk on the floor and verify your inventory and all parts are present
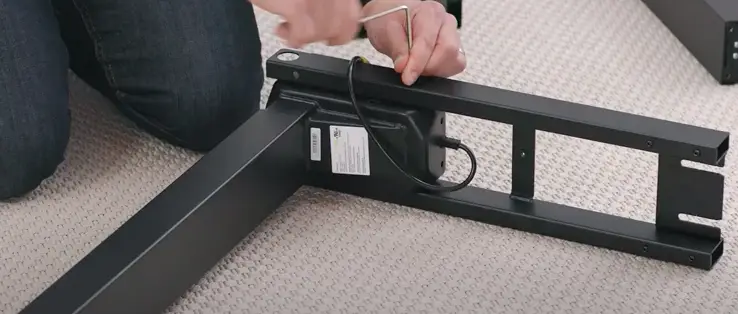
2. Insert Lifting Column into Frame End – thread four of the small machine screws
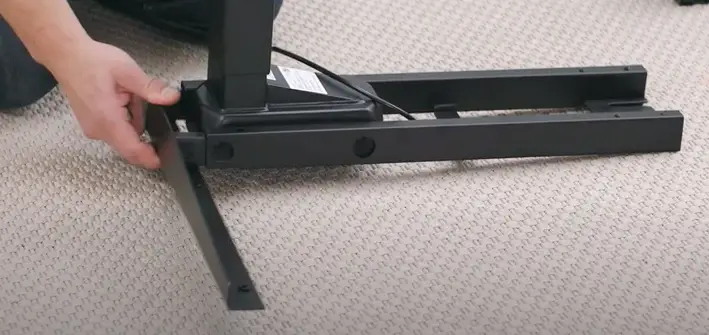
3. Attach side bracket to frame end – use two medium machine screws
4. Repeat steps 1 and 2 on the other side
5. Attach leg assembly to the desktop – use “RED BAG” of screws to attach left leg assembly to “right side” of the desktop with frame end pointing towards the center. Once you flip the desk over, this will become the left side.
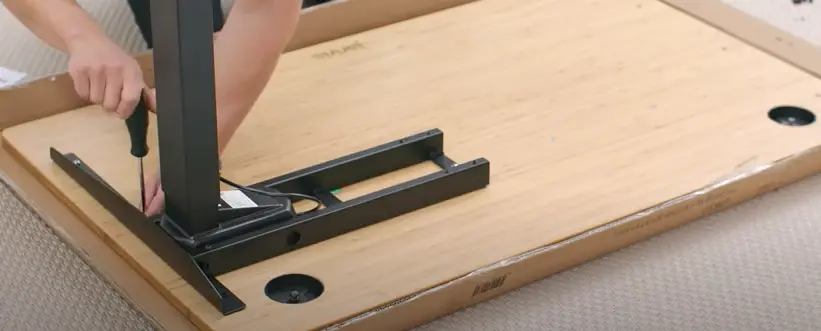
6. Position rest of frame – slide the center rails into the left frame end (or the frame end you attach in step 4). Ensure the midpoint mark is facing up and the cut out slots are facing in towards the frame end. Slide the other frame end onto the center rails.
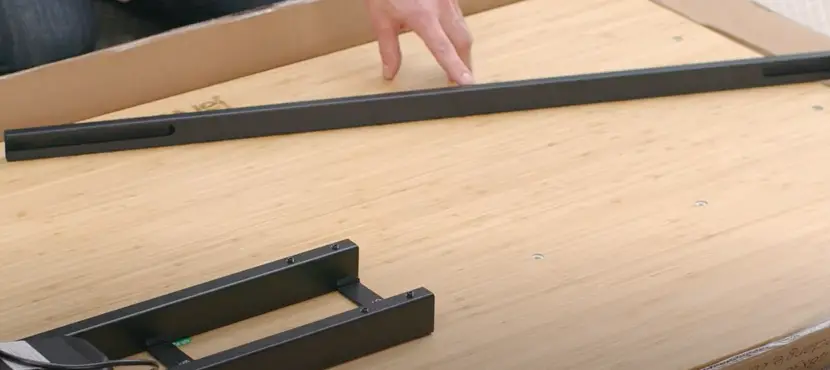
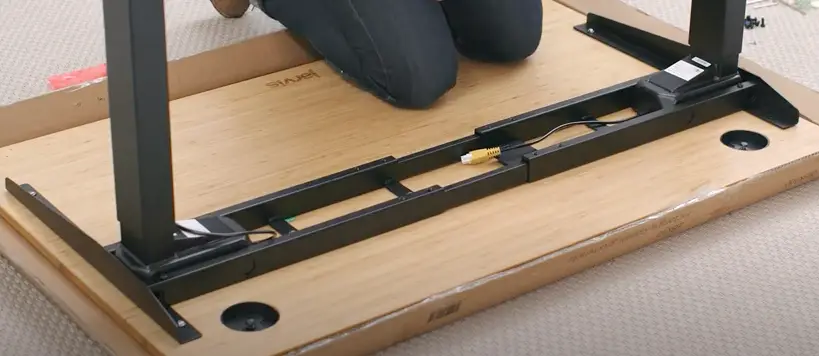
7. Secure the right leg assembly- insert all screws to the desktop with the “red bag” machine screws and tighten.
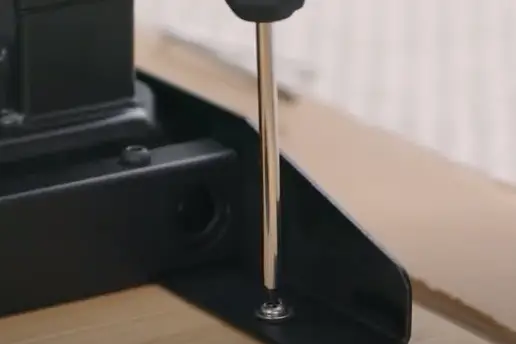
8. Secure center Rails to Desk – center the midpoint mark for both center rails and secure the eight pre-set screws tightly with an allen wrench.
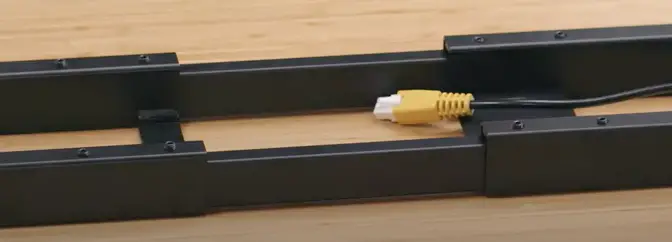
9. Attach Handset to Desk – use two wood screws to secure handset into position under the desktop

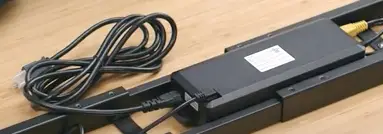
10. Install Control Box and Connect Cords – slide the control box onto the frame end with the control box capture plate and snap into place. Connect the M1 (90 degree cable black) and M2 (yellow) frame cables where marked. Connect Hand Set to the control box where labeled “HS.” Connect power cable to the power socket.
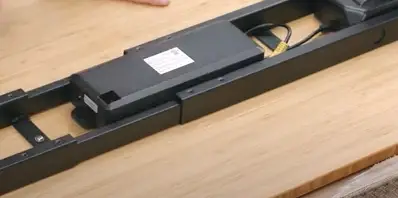
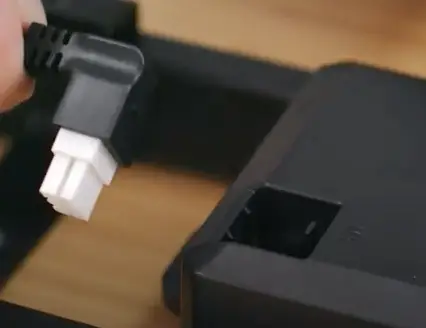
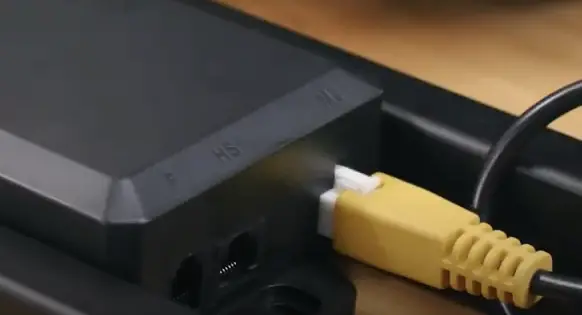
11. Attach Feet to Lifting Columns – Loosely attach a foot to each lifting column using four medium machine screws. Once all screws are in place, tighten the feet to the column.
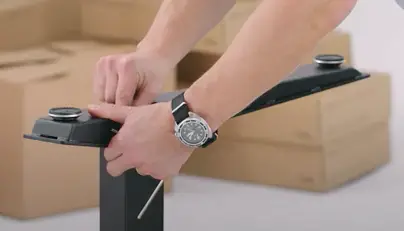
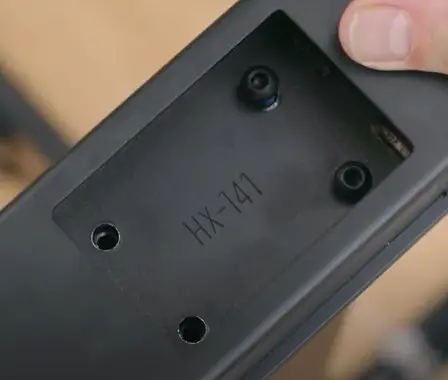
12. Check and tighten all screws. Double check that all screws are completely tightened across the entire desk up to this point in your Jarvis standing desk assembly instructions.
13. Flip over Jarvis desk – with a helper, flip the Jarvis standing desk upright. Ensure to control the desk frame when flipping up and do not put pressure on the handset – level the legs if necessary.
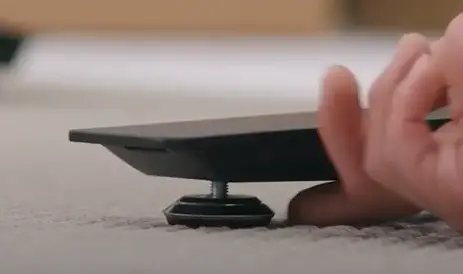
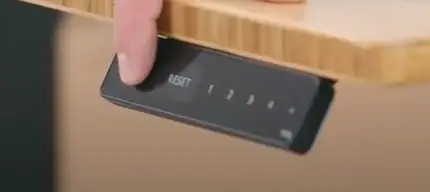
14. Calibrate Desk – Lower Desk to lowest setting by pressing and holding down button until desk stops. Once there, press and hold the down button until the desk says “reset.” Press and hold down button again until desk moves down and up slightly. Desk is calibrated.
You are now complete with your Jarvis standing desk assembly! Hopefully this break down of the step by step instructions with pictures to assemble this desk was helpful for you. You can download the PDF instructions here if you find difficulty assembling the desk or need to verify anything. If you would like the entire instructional video from Fully while you assemble your desk you can watch it here:

